Tuesday, September 17, 2013

Avocado Salad


Here is a recipe that is quick and easy.  It doesn't hurt that it's healthy too.  My hubby was gifted two humongous avocados on his last trip and to my happy kitchen it arrived.  Where we live we really don't see them this big and nice so you know I was excited.


Ingredients:

1 large avocado
2-3 roma tomatoes
1/2 red onion, sliced thinly
2-4 tbsp of olive oil
1/2 lime
salt
pepper
cilantro


Cut up avocado, tomatoes, onion and place in bowl.


Pour olive oil over ingredients.  Add salt & pepper to taste and then squeeze lime over everything.  Mix all the ingredients.  Add cilantro.


We ended up adding sauteed shrimp to it and it was delish!  I like my salad a little on the tangy side so I used the whole lime.  Hubby thought it was too much but I really enjoyed it.  


The avocado was so big we had left over.  I sealed it nice and tight and hope it doesn't turn brown too fast because I want to eat what's left, over a warm corn tortilla, yummy!

Enjoy!


Hubby's Every Season Lemonade


Who doesn't love a tall glass of lemonade?  In our house we all do.  It's not just for the summer but more like all year round.  My hubby is the expert lemonade maker and has finally given me his recipe.   We make very large batches so feel free to cut the recipe in half if you need to.  Maybe drinking this lemonade will help us this cold & flu season.  Lets see!


Ingredients:

1 1/2 c. lemon & lime juice (approximately 6 lemons & limes,  we like to mix both)
14 cups water
2 - 2 1/2 c. cane sugar (we like it tangy, so we use 2 cups)


Squeeze all lemons and limes, we use a cheaper version of this citrus juicer that I found at a discount store.


Add juice and water to pitcher and mix.  Then add sugar.  Simple as that.  I know there's not much to it but I love this formula, we even add the pulp.  The cane sugar makes the juice turn brown which I know makes a difference in taste to me.  The pitcher below holds a pretty good amount of liquid, 4 quarts.  We have enough to last a few days. 


Enjoy!

Thursday, September 12, 2013

Yuca Con Mojo - Cassava with Garlic & Onion Sauce


Here is another taste of home that is great for a side dish.  Any left overs that are not too mushy can be pan fried the next day to make Yuca Fries.  Yummy!


Ingredients:

2 lbs. of frozen yuca
4-6 tbsp olive oil
10-12 cloves garlic, add more if you like
1/2 medium red onion
2-3 limes (or vinegar)
Sea salt
Pepper


Place frozen yuca in small pot.


Cover with enough water to reach 1-2 inches above yuca.  Salt to taste.  Boil on medium heat for 40 minutes.  Test for doneness by inserting fork into a piece.  If tender, Yuca is done.  Drain and set in a bowl.


To make the Mojo heat olive oil in pan.  Add garlic and onions being careful not to burn the garlic or let it turn green.   Once soft add juice of one lime.  Turn heat off and add second lime.  You can add more lime if you like it really tangy.


Pour Mojo over the yuca and enjoy!


Buen provecho!


Arrocera Arroz Con Gandules - Rice Cooker Rice with Pigeon Peas


Rice, how yummy it is!  Arroz con gandules is very customary in my family especially since my Dad is from Puerto Rico.  I can eat this instead plain white rice anytime!  I have even made it with brown rice and it turns out just as good.  Any time I want a little piece of home, I make it.  I always make this in my rice cooker and that is partially due to the intimidation I have of making it in the traditional caldero.  Yes, everyone tells me, "But it super easy!" but I just like to set it and forget it.  So this works for me.


Ingredients:

3 tbsp olive oil
4-6 cloves garlic, minced
1/2 medium onion
1/3 c. green bell pepper
1/3 c. red bell pepper
Salt
Pepper
1 chicken bouillon cube
1 packet of Sazon Goya (with Culantro & Achiote)
1 14 oz. package of frozen gandules (15 oz can can be used instead)
1/2 can tomato sauce
3 cups of long grain rice, rinsed
3 cups of water

*Note:  You can make different variations of this by changing or adding a few ingredients.  I like to add chorizo or bacon at times to give it a little more flavor.  Or change the gandules for kidney beans.  Feel free to experiment!


Preheat large pan and add 2 tablespoons of olive oil.  Once hot add garlic and onion, stir and cook for 3-5 minutes on medium heat.  


Add both bell peppers, stir and cook 3-5 minutes.  Add salt and pepper to taste.


Add Sazon packet and bouillon cube. Stir.


Add tomato sauce and gandules (pigeon peas) and mix.  Let heat through.


*** Since I used frozen pigeon peas which had no liquid I added a little of chicken broth to add a bit of moisture. If you use the canned stuff you don't need to do this step.***


This is the measuring cup that came with my rice cooker.  It seems a bit smaller than your normal measuring cup.  Measure 3 cups of rice and rinse.  Once clean, add the water.  Salt to taste and add a tablespoon of olive oil.


Once stove mixture has come to boil, add to rice and water.  Stir.


Place container into your rice cooker, close lid, and press start.


Once the cooker beeps rice is done.  I let it sit closed an additional 5 minutes before I stir it.


Major reason why i like doing it this way is that I don't have to watch the clock or set a timer and I can continue to make the rest of the meal.  Oh, it doesn't hurt that I can't burn it this way!  The only thing that it doesn't do is make "pegao" which is the crispy layer at the bottom of the caldero when you make it on the stove.  I personally never like "pegao" but I have heard family members literally fight over it.

Buen provecho!


Roasted Chicken


There is nothing my hubby loves more than a good roasted chicken.  While it cooks it makes the house smell oh so good and it brings back childhood memories of when my mom used to cook a nice meal on weekends.

I use different seasonings every time I make it and usually never measure, just eyeball it.  I remembered this combination of ingredients that worked nicely and was easy to remember.


Ingredients:

Whole chicken, rinsed and fat removed
6-8 cloves of garlic
1 tbsp sea salt
1/2 tsp pepper
1/2 cumin
3/4 tsp oregano
Steak sauce

Pierce chicken with a sharp knife all over and separate skin from flesh a little to make room for the marinade.  I like to pierce the chicken to allow the marinade really get in the thinker parts. 


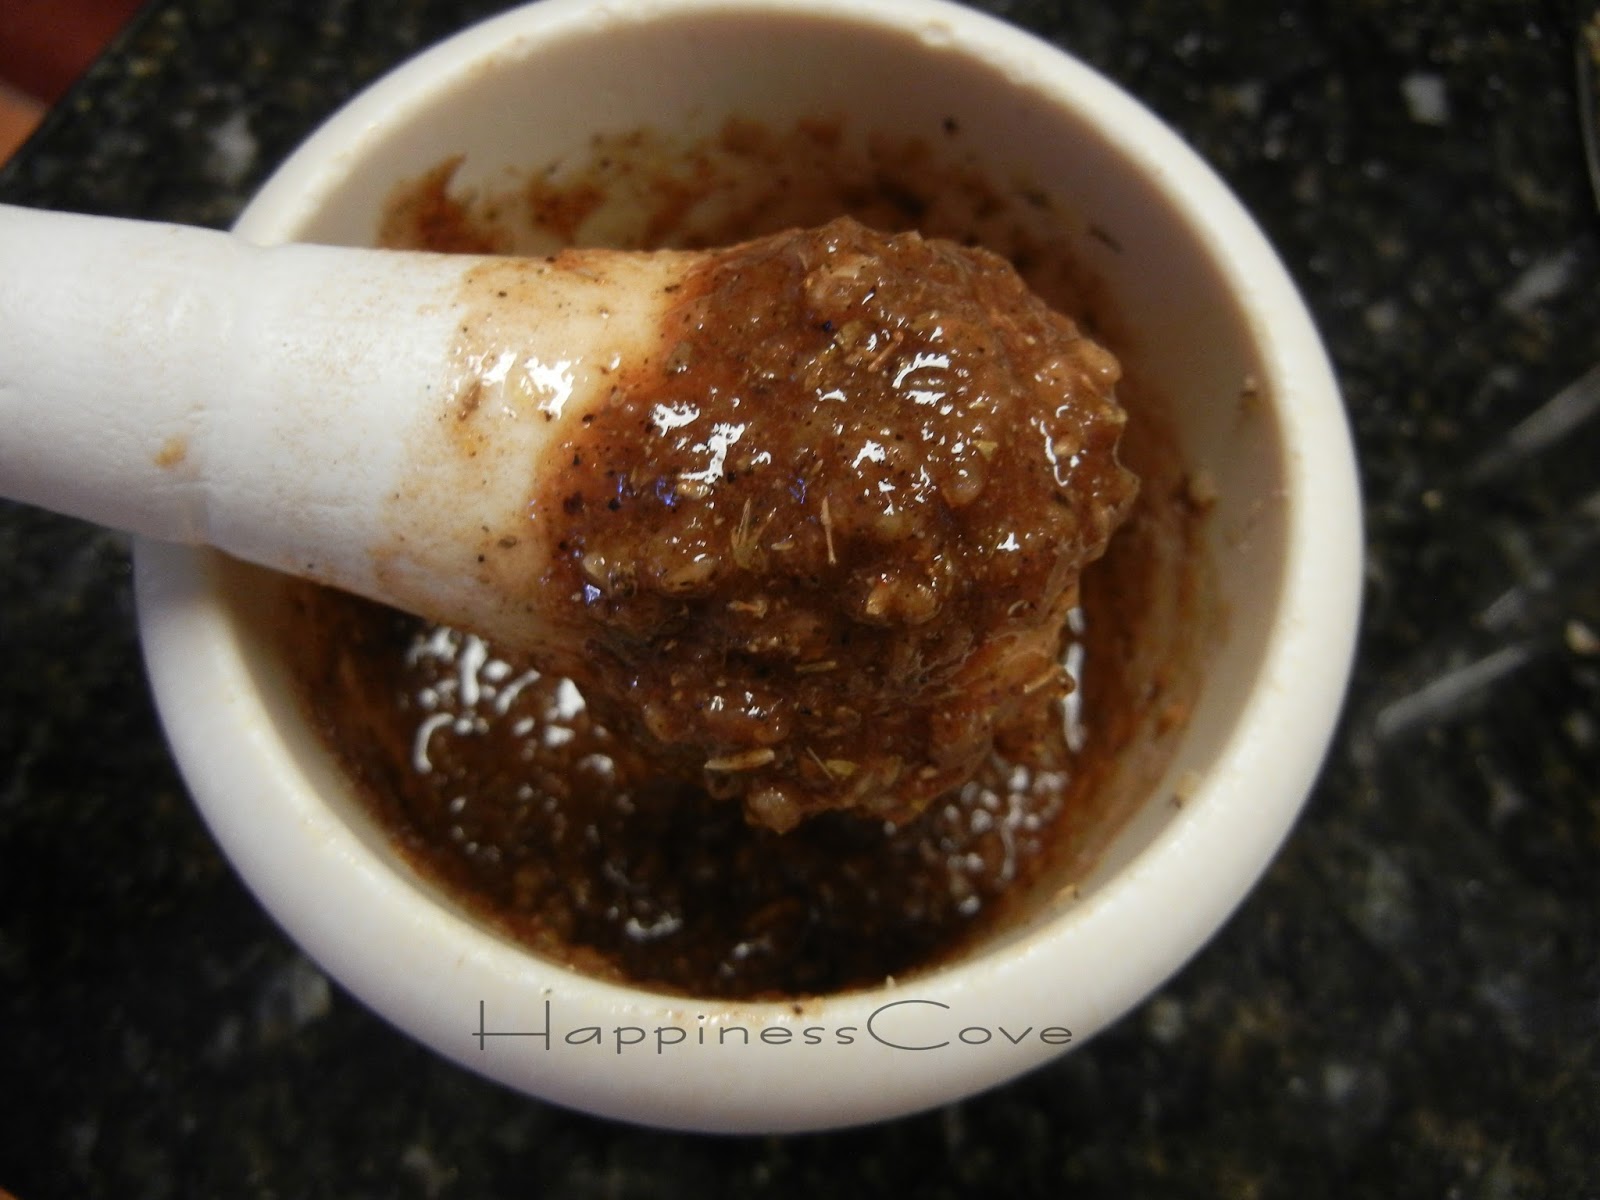
Mash garlic, salt, pepper, cumin, and oregano in pilon (mortar).  The garlic incorporates nicely with the herbs doing it this way.


Add enough steak sauce to the mixture to make a thick paste. It should coat a spoon nicely.


Pour mixture all over pierced chicken and in between the skin and flesh.  Also coat inside the cavity of the chicken.  Let it marinade for a couple of hours in the fridge or over night.


Preheat oven to 425 degrees.  Place chicken in a roasting pan.  I like to use foil for easy clean up.


Place in oven for 30 minutes at 425 degrees then baste.  Lower temperature to 325 degrees and bake for 1 hour basting every thirty minutes.  (Basting a total of three times)


After the last basting, take out of oven and cover with foil and let sit at least 15 minutes.  Chicken should be nice and golden.


If your hunger doesn't kick in by the time this is done, I don't know what to tell you.  I hope you enjoy!


Wednesday, September 11, 2013

Boy's Sports Room


So, I have a tiny little neighbor to the right of my bed that I think needs his own space.  Sorry Tank, Mommy doesn't want to evict you from our bedroom but you need to enjoy your room.  We have taken a little while to complete his room for various reasons.  Hubby and I knew that he would at least be in our room for 6 months like we did with Tink but his stay was sort of extended.  I don't mind at all but you kind of just know and feel when it's time for them to be in their own space.

Through many Pinterest inspirations we knew we wanted a "Sports" feel (seriously which Daddy doesn't). Here is the inspiration.  There really wasn't much else but the picture to go by so off to work we went.  Here are the before pictures.


We knocked it off pretty fast I think.  The hardest part was taping the focal wall and getting the lines straight.  Painted the white and let it dry to then tape again to paint the blue and green.


And Ta-Daaaaa!  It's always intimidating when you work with vibrant colors but I am very pleased with the results. I originally wanted to paint the other walls green but I am so glad I changed my mind to gray.


Some of the details include this green trim.  I thought it would be kind of cool to make it look like football field markers.  It looks so awesome in person.


I originally was going to do this free hand but since I have a handy dandy Silhouette Cameo, well why not get some good use out of it.  Used white craft vinyl and cut out all the letters, numbers, and shapes with the machine.


We are currently letting all the paint fumes go away and will then move all the furniture in.  I will post an update on the finished room.  I hope Tank enjoys it!


                                         ***  Click this link to see the finished room. ***